
Introduction
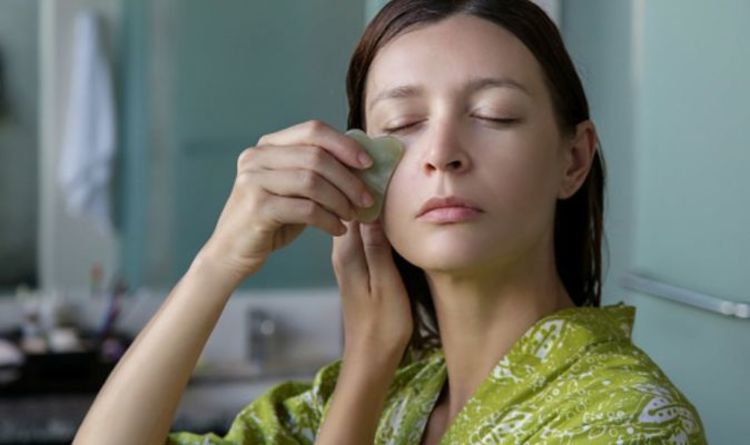
Gua sha, a traditional Chinese healing technique, has gained popularity for its potential health and wellness benefits. While it’s often performed by professionals, you can also experience the benefits of gua sha in the comfort of your own home. In this step-by-step guide, we’ll walk you through the process of performing gua sha at home, allowing you to enjoy its rejuvenating effects.
Gua sha involves scraping the skin with a flat tool to promote circulation, relieve muscle tension, and enhance overall well-being. By following this guide, you can learn how to perform gua sha on your own, creating a relaxing and beneficial self-care routine.
Materials You’ll Need
To perform gua sha at home, gather the following materials:
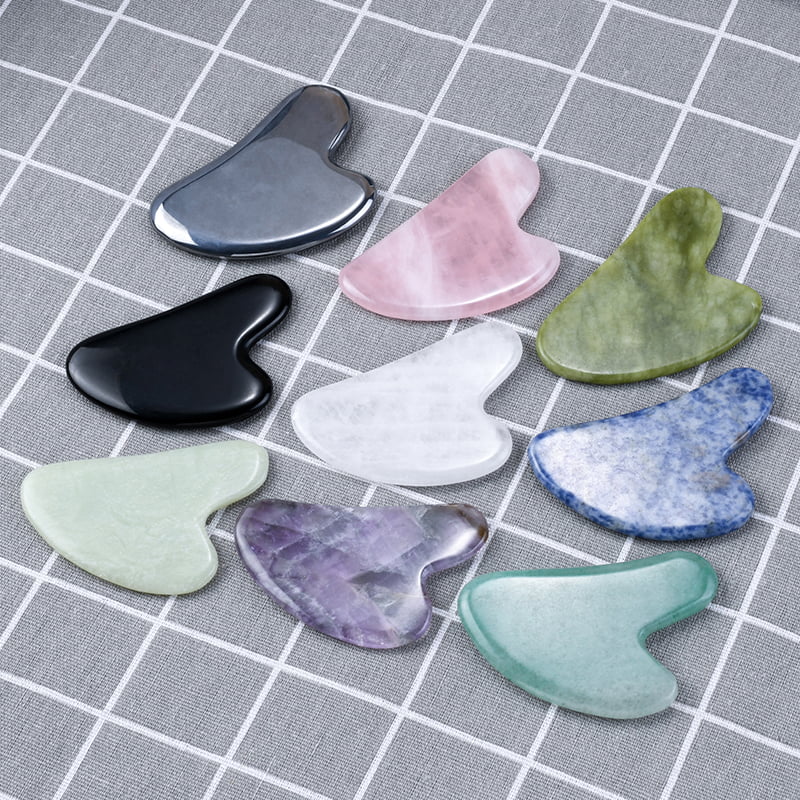
- Gua sha tool: Choose a tool made of jade, rose quartz, or other suitable materials with smooth and rounded edges. The shape and material of the tool can affect the overall experience and effectiveness of gua sha.
- Clean towel or cloth: Use a soft towel or cloth to wipe your skin before and after the gua sha session. This helps remove any impurities and ensures a clean surface for the treatment.
- Facial oil or moisturizer: Apply a small amount of facial oil or moisturizer to provide lubrication during the gua sha process. This helps the tool glide smoothly on your skin, preventing any discomfort.
Step 1: Preparation
Before you begin, follow these preparatory steps:
- Find a comfortable space: Choose a well-lit and quiet area in your home where you can perform gua sha without interruptions. Creating a serene atmosphere enhances the overall experience.
- Cleanse your face: Thoroughly cleanse your face to remove any makeup, dirt, or impurities. Use a gentle cleanser that suits your skin type to ensure a clean canvas for the treatment.
- Apply facial oil or moisturizer: Use a few drops of facial oil or moisturizer to allow the gua sha tool to glide smoothly on your skin. This step also helps nourish and hydrate your skin during the treatment.
Step 2: Basic Technique
Master the basic gua sha technique with the following steps:
- Hold the gua sha tool: Firmly grip the gua sha tool with a gentle hold, ensuring control and stability. Find a grip that feels comfortable and allows you to maneuver the tool easily.
- Start at the neck: Begin with your neck and move upward toward your jawline, using gentle upward strokes. Apply light to medium pressure, keeping in mind the sensitivity of the area.
- Apply pressure: Use light to medium pressure based on your comfort level. Avoid excessive pressure to prevent skin irritation or bruising. Listen to your body and adjust the pressure accordingly.
- Direction of strokes: Always move in one direction, using long strokes on the neck and jawline, and shorter strokes on the cheeks, forehead, and under-eye area. This helps promote lymphatic drainage and encourages blood circulation.
- Repetition: Repeat each stroke 5-10 times in each area, focusing on areas of tension or tightness. Pay attention to your skin’s response and adjust the number of repetitions as needed.
Step 3: Areas to Target
During your gua sha session, target specific areas using the following steps:
- Neck: Start at the base of your neck and move upward towards your jawline, repeating on both sides. Use upward strokes to release tension and promote lymphatic drainage in this area.
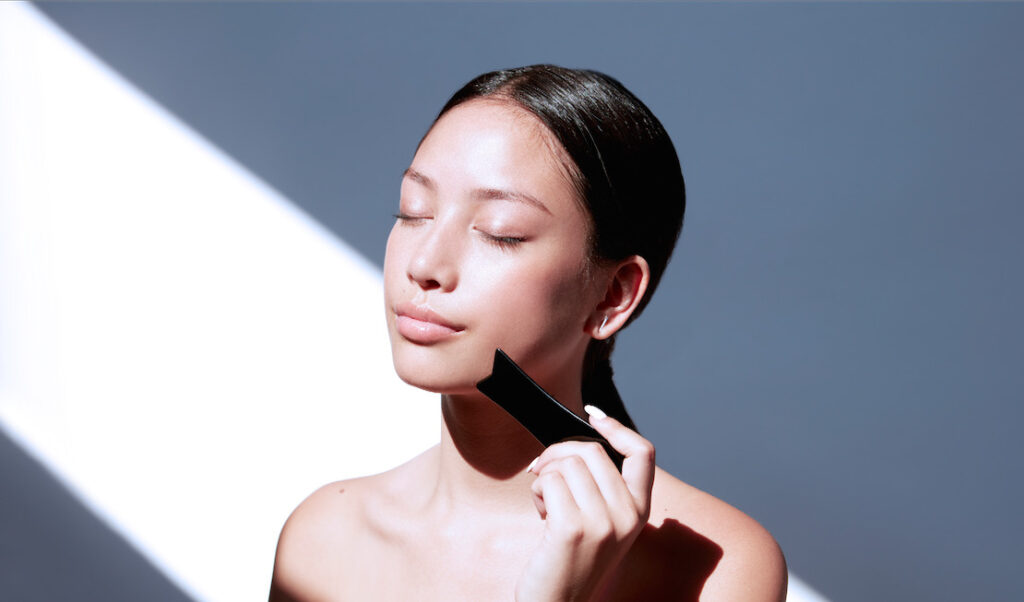
- Jawline: Begin at the center of your chin and sweep the gua sha tool outward along your jawline towards your ears. This helps sculpt and define your jawline while releasing muscle tension.
- Cheeks: Glide the tool from the center of your face towards your hairline, following the natural contours of your cheeks. This technique helps improve circulation, reduce puffiness, and enhance cheekbone definition.
- Forehead: Start at the center of your forehead and move the tool towards your temples using upward strokes. Gently massage this area to alleviate tension, reduce the appearance of forehead lines, and promote relaxation.
- Under-eye area: Exercise extra caution and use gentle, outward strokes from the inner corners of your eyes towards the temples. This technique can help diminish the appearance of under-eye puffiness and dark circles while increasing blood flow to the area.
Remember to be mindful of the pressure applied during each stroke and adjust it according to your comfort level. The goal is to provide a soothing and relaxing experience while promoting overall skin health.
Step 4: Aftercare
After completing the gua sha session, follow these post-care steps:
- Cleansing: Cleanse your face to remove any excess oil or product. Use a gentle cleanser and lukewarm water to wash away any residue.
- Apply soothing products: Apply a soothing facial serum or moisturizer to nourish your skin and lock in hydration. Look for products with calming ingredients like aloe vera or chamomile to soothe any redness or irritation.
- Clean and dry your gua sha tool: Cleanse the gua sha tool with warm water and mild soap, ensuring it’s free from any residual oils or debris. Dry it thoroughly before storing it in a safe place. This helps maintain hygiene and prolong the lifespan of the tool.
By incorporating these aftercare steps, you can further enhance the benefits of your gua sha practice and ensure the well-being of your skin.
Conclusion
Performing gua sha at home can be a delightful addition to your self-care routine. By following this step-by-step guide, you have learned the fundamental techniques and areas to target during a gua sha session. Remember to approach the practice with mindfulness, adjusting the pressure and frequency according to your comfort and skin’s response.
Gua sha not only provides a relaxing and rejuvenating experience but also promotes circulation, relieves muscle tension, and enhances the overall health of your skin. With regular practice and proper aftercare, you can enjoy the numerous benefits that gua sha has to offer.
So, set aside some time for yourself, create a tranquil environment, and indulge in the therapeutic ritual of gua sha. Your skin will thank you for the loving care and attention.